October 2013 - June 2014

We needed a donor to begin our project and I found a guy who had just what we needed...


This build started out life as a 1980's Palomino Pop up camper that was being used for a vegetable stand. It was in really bad shape and full of rotten tomatoes and walnuts. Really Nasty!
The first order of business was to tear everything apart and get down to the frame. We debated if we should build a frame from scratch, buy a kit or start with a pop-up. We decided on the latter because a used trailer already has a Title and requires no inspections or hassles when obtaining Licence Plates.


Next we had to remove all the rust by sanding and grinding it away. It's messy and not very fun but the finished result was great! Carrie applied several coats of POR-15 to the exposed metal surface to neutralize the rust and give it a protective coating.


It's already looking better!
Now it's time for a good coat of basic black. I used Dupont Jet Black Urethane Enamel. I think I sprayed on at least two reduced quarts plus activator to cover the entire frame.


Before we ever had a frame, we had dreams and ideas! Carrie and I would sit around and dream up all sorts of ideas for our camper project.
In the beginning... drawings!

And foam models!


Now you can begin to see where we are going with the project! So let's be honest... things don't always go as planned. In fact, when you are fabricating a build project from scratch, rarely does anything EVER go as planned! Therefore, we are now at a place where we are starting to realize that our dreams and ideas are larger than the trailer we purchased. There are some key points to this build that Carrie and I felt were absolutely necessary.
In no special order:
-The Galley (kitchen) must be inside the camper
-The Head (toilet) has to have it's own private space
-The Dinette (eating area) has to be separate from the Captain's
Quarters (sleeping area) with no set up or tear down needed to use either
- You should be able to stand up completely to put on your pants
With these requirements in mind, we are faced with the decision to either find another trailer or add on to the existing one. Since we only have $100.00 invested in the trailer so far, the decision was made to buy some C-channel steel and build the frame exactly to the spec's we want. Now comes the first trip to my Brother's shop where we can use Matt's welder and torch...


Part of resizing the frame included upgrading the lightweight suspension with a 3500 lb axle, springs, 15" wheels and new tires.


During this time we decided this was our opportunity to cut, fit and weld brackets for our holding tanks. There will be three tanks total on this Coach. There will be a 40 gallon blackwater tank for the sewage, a 40 gallon greywater tank for the galley sink and a 30 gallon freshwater tank for drinking. Right now we are focusing on the black and grey tanks because they will be mounted under the trailer, while the fresh tank will be inside the Coach.


This next photo is an instant classic! It catches my brother in the midst of a highly technical, extremely scientific process of determining exactly where the pooper, er I mean head, will be located so we can find the exact location for the blackwater tank:

Taking advantage of the torch and welder, I thought it would be a good time to fix the wheel jack. The trailer had an older style wheel that had to be removed and replaced each time it was used so it didn't hang down too low while traveling. Here is what we came up with...


By using this style bracket we gained about 6" of travel height
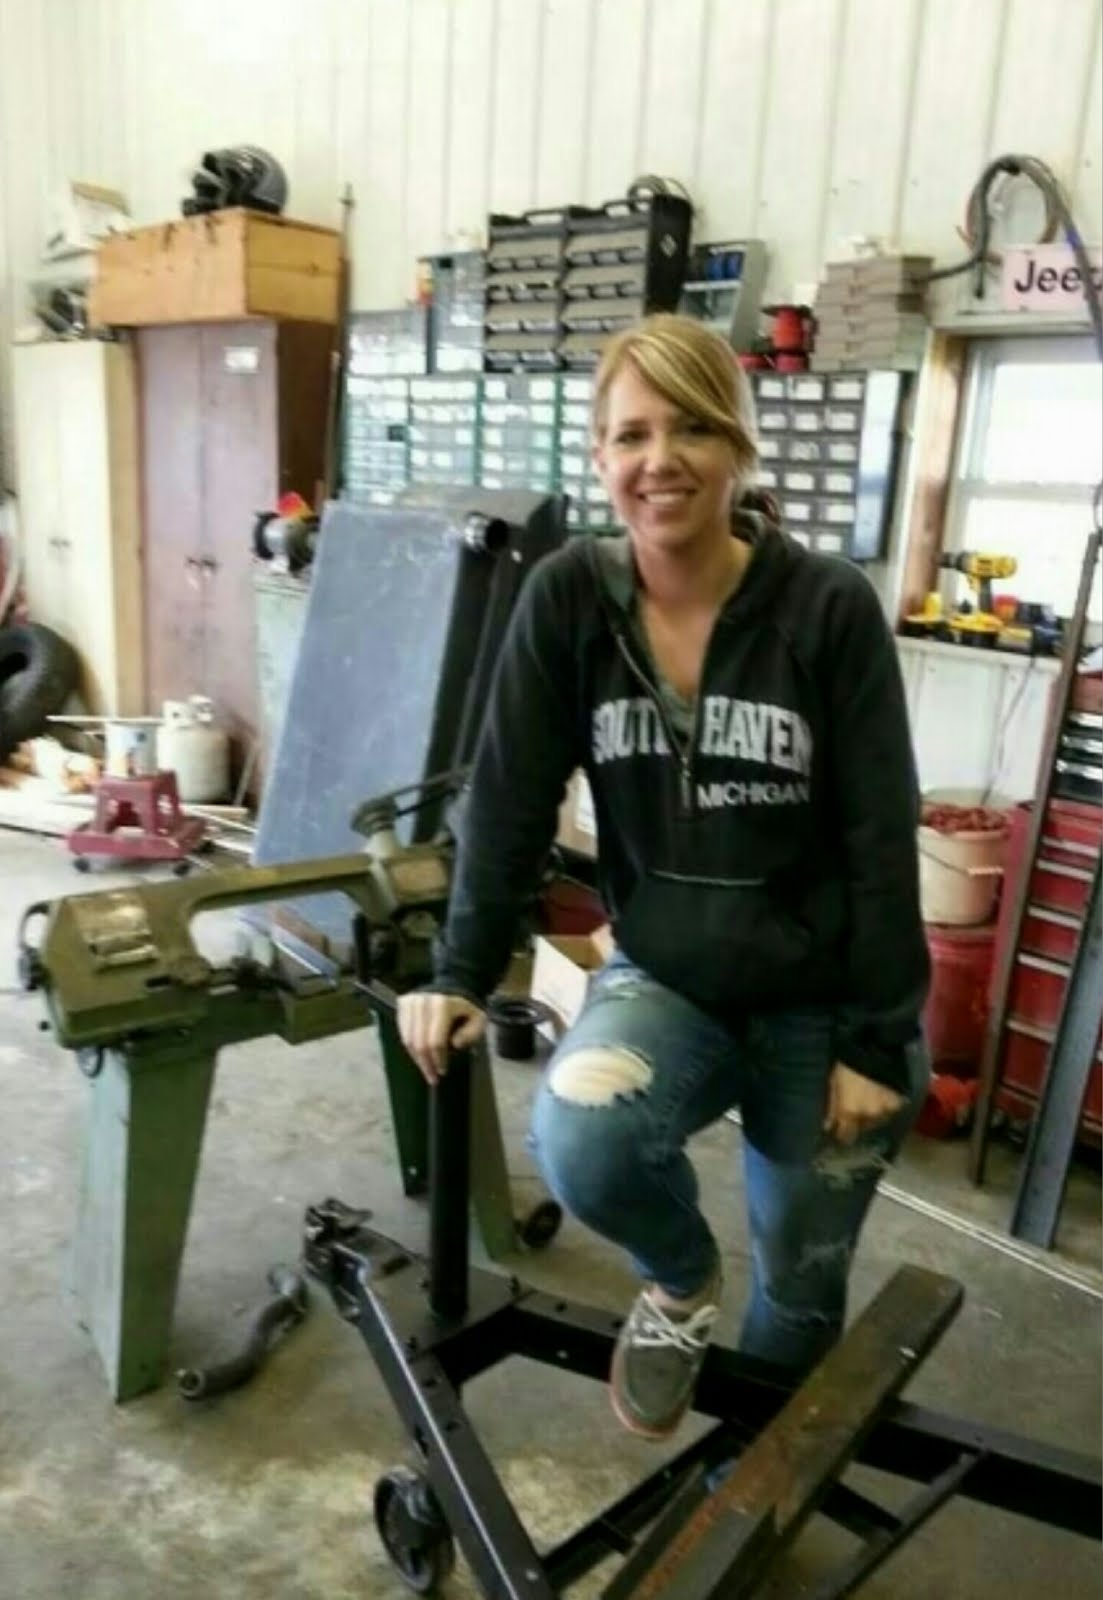
Carrie, Matt and myself made a great team this weekend. Matt and I would trade off taking measurements and fitting and welding the C-channel. We would give the measurements to Carrie and she would cut all all pieces to spec. Not only is she skilled, but she looks pretty darn good doing it!
Now that the cutting, fitting, grinding and welding is complete we hauled the trailer back home for some final sanding and paint. All that grinding and welding to make the frame bigger really messed up our nice paint job!
So I applied etching primer:

And recoated everything with more Urethane Black Enamel:

Now that the frame is painted and complete, we started installing the blackwater and greywater tanks into the brackets that we welded in earlier. Once the tanks were in place we installed the fittings and the waste gates that are used to empty the tanks when they get full.


With all the metal work finally complete, it is now time to turn our focus to making some sawdust! The first step to accomplish this is to measure out the area for our flooring and cut 3/4" marine grade plywood to fit.

Once the plywood has been cut to fit and drilled for the bolts that fasten it down, we bonded 1/2" foil backed foam to the underside for insulation for a total floor thickness of 1 1/4". The foam insulation will help retain heat when we snow camp while helping to stop any drafts that might try to come up through the floor.

We used wood boards with cement blocks stacked on top to bond the foil backed foam to the plywood with marine grade epoxy. The foil side will face down toward the ground.
The plywood/foam floor is attached to the frame with Stainless Grade 8 bolts. I'm sure stainless and hardened bolts are overkill but they were leftover from another project and worked perfectly. In order to make the bolt heads flush with the surface we recessed them into the sub-floor. This required removing an excessive amount of wood so I compensated by filling all the recesses with epoxy to restore structural strength. Maybe overkill, maybe not but the finished result is very clean.

Those are never coming out, ever!
Here's the trailer with the new sub-floor attached. It's starting to look like something!

I felt like I should do something about the seams in the sub-floor. I really didn't know if they would cause an issue over time, or possibly cause the flooring to squeak or be uneven. To prevent any future issues with the seams I used epoxy and fiberglass tape to fill the seam. Then I used a nice coat of lightweight filler to smooth everything out. Just adding more overkill to overkill. Why not?

So here's the trailer with the sub-flooring installed and complete:


At this point we are ready to start putting our thoughts on paper regarding the interior layout and getting it into perspective. Carrie printed the floor plan out full-size so we can start working out the details

She's Hott!

This is very helpful in determining the next step which is cutting the hole in the floor for the toilet flange. The toilet will sit directly on the flange which connects directly into the blackwater tank.


We looked all over for wheel tubs to cover the tires but everything we found was a ridiculous amount of money for cheap plastic tubs. So true to our inner creative persuasions, we built a wood form and used carbon fiber cloth and epoxy to lay up a couple of custom, lightweight carbon fiber wheel tubs. Here's a pic of one of the tubs during the lay-up process.

And installed:

To make the trailer project complete we found flooring that we both really liked and installed it in one evening. I love the beauty of the wood grain on the trailer.


We installed leveling jacks to keep things level and secure.


Carrie was so excited to get a really nice piece of polished aluminum that we cut and fit for the trailer tongue.

I chuckle everytime I look at that! The diamond plate was all her idea. I had struggled to come up with a good way to finish out the ugly tongue and she surprised me with a really nice finishing touch.

At this point I thought it would be fitting to make an aluminum plate and have it engraved with the Astroliner name and the legal registration numbers.


So here it is after many months and a lot of work...

Phase One Complete!
If you've enjoyed our build so far, please subscribe and leave us a comment. We enjoy hearing from you!
Happy Creations,
Michael & Carrie
1 comment:
Wonderful post! We are linking to this particularly great post on our website. Keep up the great writing.
Post a Comment