July 2014 - Jan 2015
The frame and flooring is now finished, complete with storage tanks and electric brakes. The suspension has been upgraded to 3500 lbs which should be more than adequate for the size of the coach. It's an educated guess but we're thinking it will weigh in at around 1500-1800 lbs total weight completely outfitted.
The frame and flooring is now finished, complete with storage tanks and electric brakes. The suspension has been upgraded to 3500 lbs which should be more than adequate for the size of the coach. It's an educated guess but we're thinking it will weigh in at around 1500-1800 lbs total weight completely outfitted.
One of the first things we did was draw up some plans. Those drawings were converted into a CAD program with help from our friend Dan. We bought a big pile of lumber, then all the wall pieces were cut out of 1/4" Marine Grade plywood with a laser cutter.


Then we started assembly!


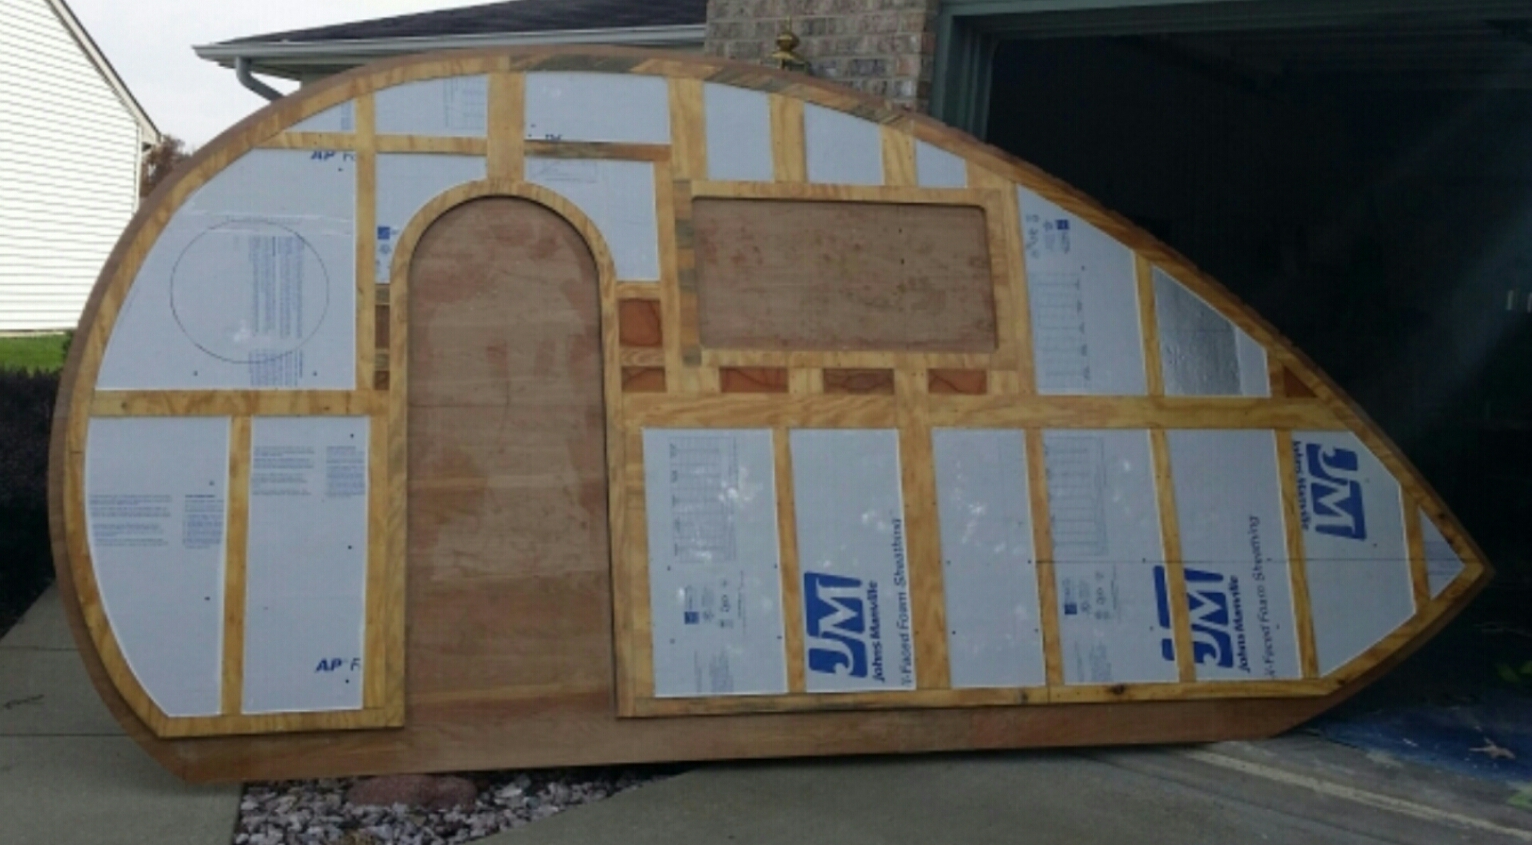
This is the right side of the coach with the framing for the arched door. All the pieces were bonded together with a marine grade epoxy. There were no nails, screws or hardware to hold it together.
At some point in the process we designed the frame to fit the door.

Framing pieces were cut to fit which give support to the structure and provide attachment points later on when the cabinets are installed.


At this stage they are really coming together and looking like camper walls! We struggled to find porthole windows that were bigger than 10". Something more in the 16 to 18" range seemed better and we decided on that by using a pizza pan as the model, as you can see in the above picture!
The walls need to be able to hold heat in the winter and cool air in the summer, so we insulated them with 1/2" foil backed foam panels.


By now the walls are too big to mount on the trailer in the garage. We needed to do some test fittings so I called the tallest friend I have, John, to come help hold the walls in place while Carrie and I took measurements and made notes.


Again, we used marine grade epoxy to coat all the exposed wood
surfaces. One of the downfalls to vintage campers is the leaking and rotting that occurs in the roof and walls. This camper will be waterproof inside and out!

On the exterior side of the wall there was a vertical seam and a horizontal seam. These were covered and sealed with fiberglass cloth, epoxy and a fine coat of filler to smooth everything out.


When all the walls were assembled, glued and epoxied we laid out all the patterns for the doors, windows, etc. Here is a wall with everything cut out:

... And tested each part for perfect fit:


The wheel tub openings needed to be framed to get a good fit.


Each individual component was framed for strength and durability.


Building a camper from the ground up takes a lot of patience and skillful craftsmanship. Carrie does the computer work and helps design but she's pretty skillful with the hand tools too!


After finally landing on a size for our porthole window, I special ordered a piece of tinted, tempered glass from a local glass company. I found a place online that made rubber gaskets for hotrod windshields and found something that I think is going to work...

I measured twice and cut once... but I'm really hoping I got it right!
This pretty much wraps up the wall building section of the build, but stay tuned because in the next phase of the build we will be working getting the walls wrapped in fiberglass! Don't forget to subscribe to our blog and leave comments!
Happy Creations!
Michael & Carrie
No comments:
Post a Comment