Now that the exterior of the coach is in primer, it's time to move on to the inside and begin working on the walls. Something we did very early on when we cut out the wall panels, was to cut identical panels to use as interior walls at a later date. Each piece would need some minor modifications to get them to fit just right, which was something Carrie handled very well. Every piece ended up fitting like a glove.
Here are all the interior pieces after they were cut, fit, sanded and ready for finishing.

Now it's time to prep the wall panels for paint. Typically, in a vintage camper the walls would be stained and varnished. We decided to go for something with just a little more flair... Flake! So in order to do this, I had to fill any imperfections in the wood with body filler, then follow with multiple coats of primer. This is a long, tedious process because the wood will fight it all the way. But once it's done it's very worth it!
Here are some of the panels in primer.


For the paint, we wanted really "old school cool" flake from the '60's and 70's. So we landed on a fantastic flake made by Big Daddy Roth's son, 'Lil Daddy Roth.
We agreed that I would pick the color for the Main Cabin...
"Tropi Cali Orange!"

And Carrie would pick the color for the Captains Quarters...
"Rattsberry!"

For all the walls that will be behind cabinetry or seating we went with black flake. If all this doesn't scream Vintage '60's HotRod I don't know what does!
Here are the panels all decked out in Fabulous Flake!


The wall panels are now complete and it is time to ready the interior for installation. We realized the port-hole windows must be installed prior to the walls going in, so that became the next focus. Since the windows are custom-fab and one-off, the learning curve was steep. With a few trial and error attempts we figured out a system and got both windows installed.
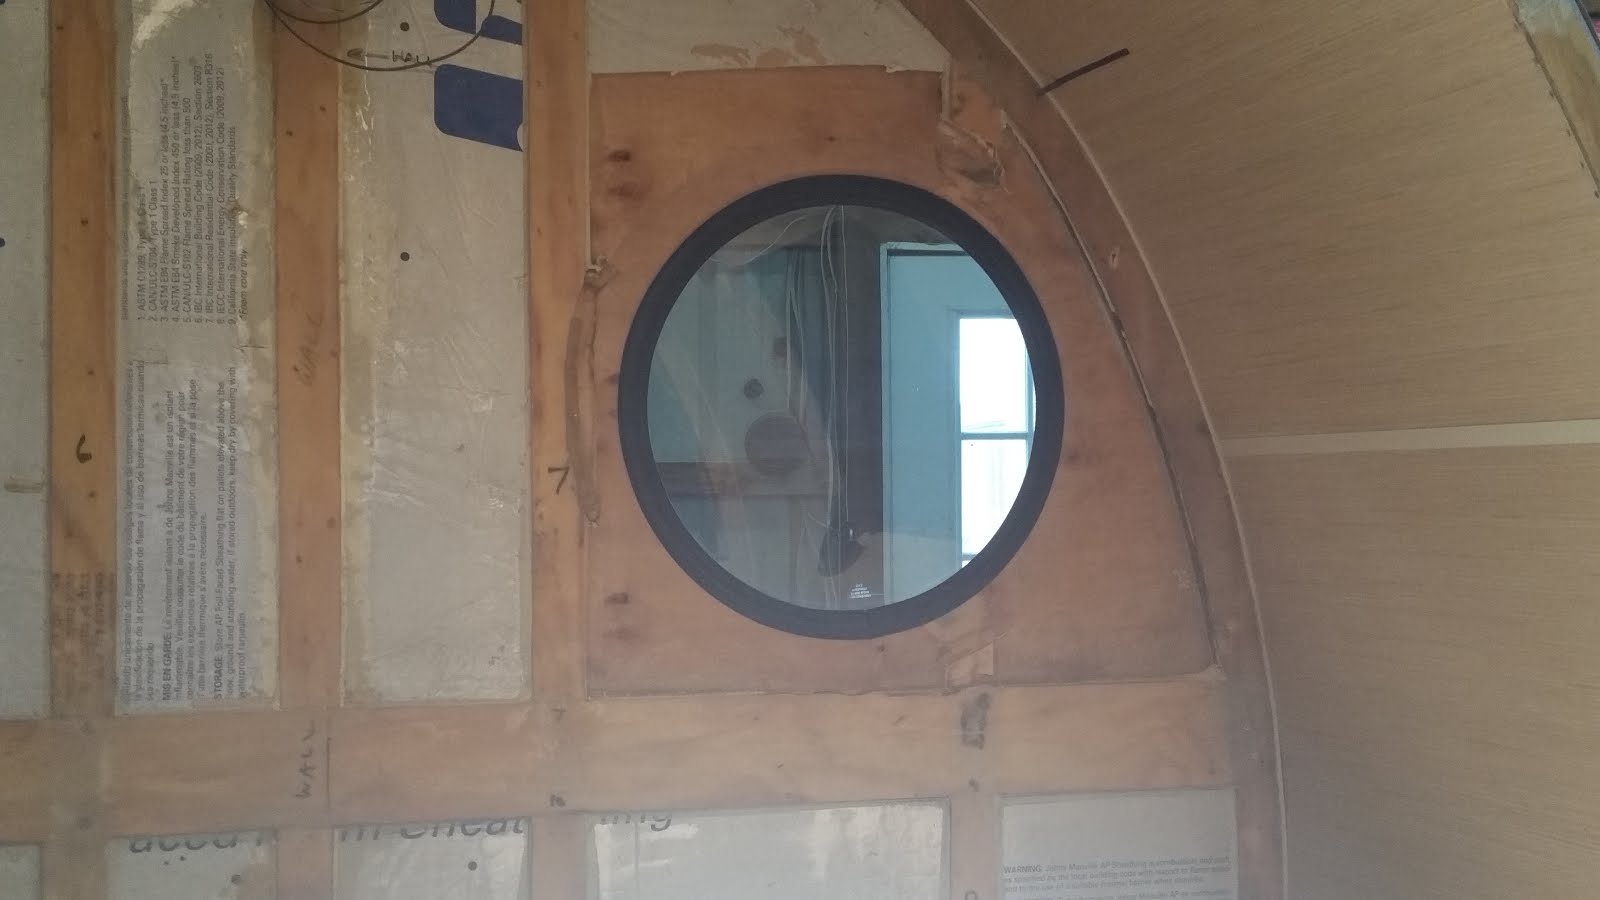
Wood support rings were cut and bonded into place with epoxy for added support and attachment points for the new walls.

Here are the windows installed...


Even better than we imagined!
And then, the walls went in. One pretty piece at a time. We didn't want to drill holes or use any type of nails or fasteners (that's been the theme of this build anyway) so the wall panels were installed with 3M brand VHB tape. If you have never used this stuff, try it. It's a truly amazing, permanent bond.

We always warm the VHB tape with a heat gun to soften the glue just before installing the part. This makes it even more permanent! Also, installing the panels was a bit tricky because all the corner trim had to be installed simultaneously as the walls went in. We think the end result is fabulous!


Keep in mind that no two panel colors will ever be seen together because of the birch walls and cabinets that will be installed later.
As a final touch, custom made trim rings were cut, sanded, painted and installed around the port-hole windows.


And that's about it for the Fabulous Flake! Stay tuned for more upcoming fabulousness!
As always, thank you for following our build. We appreciate each of you who find us interesting. And a special shout out to our one follower in Russia who reads our blog each time it comes out! We thank you for your interest! Please comment, we would love to hear from you!
Happy Creations!
Michael and Carrie
No comments:
Post a Comment